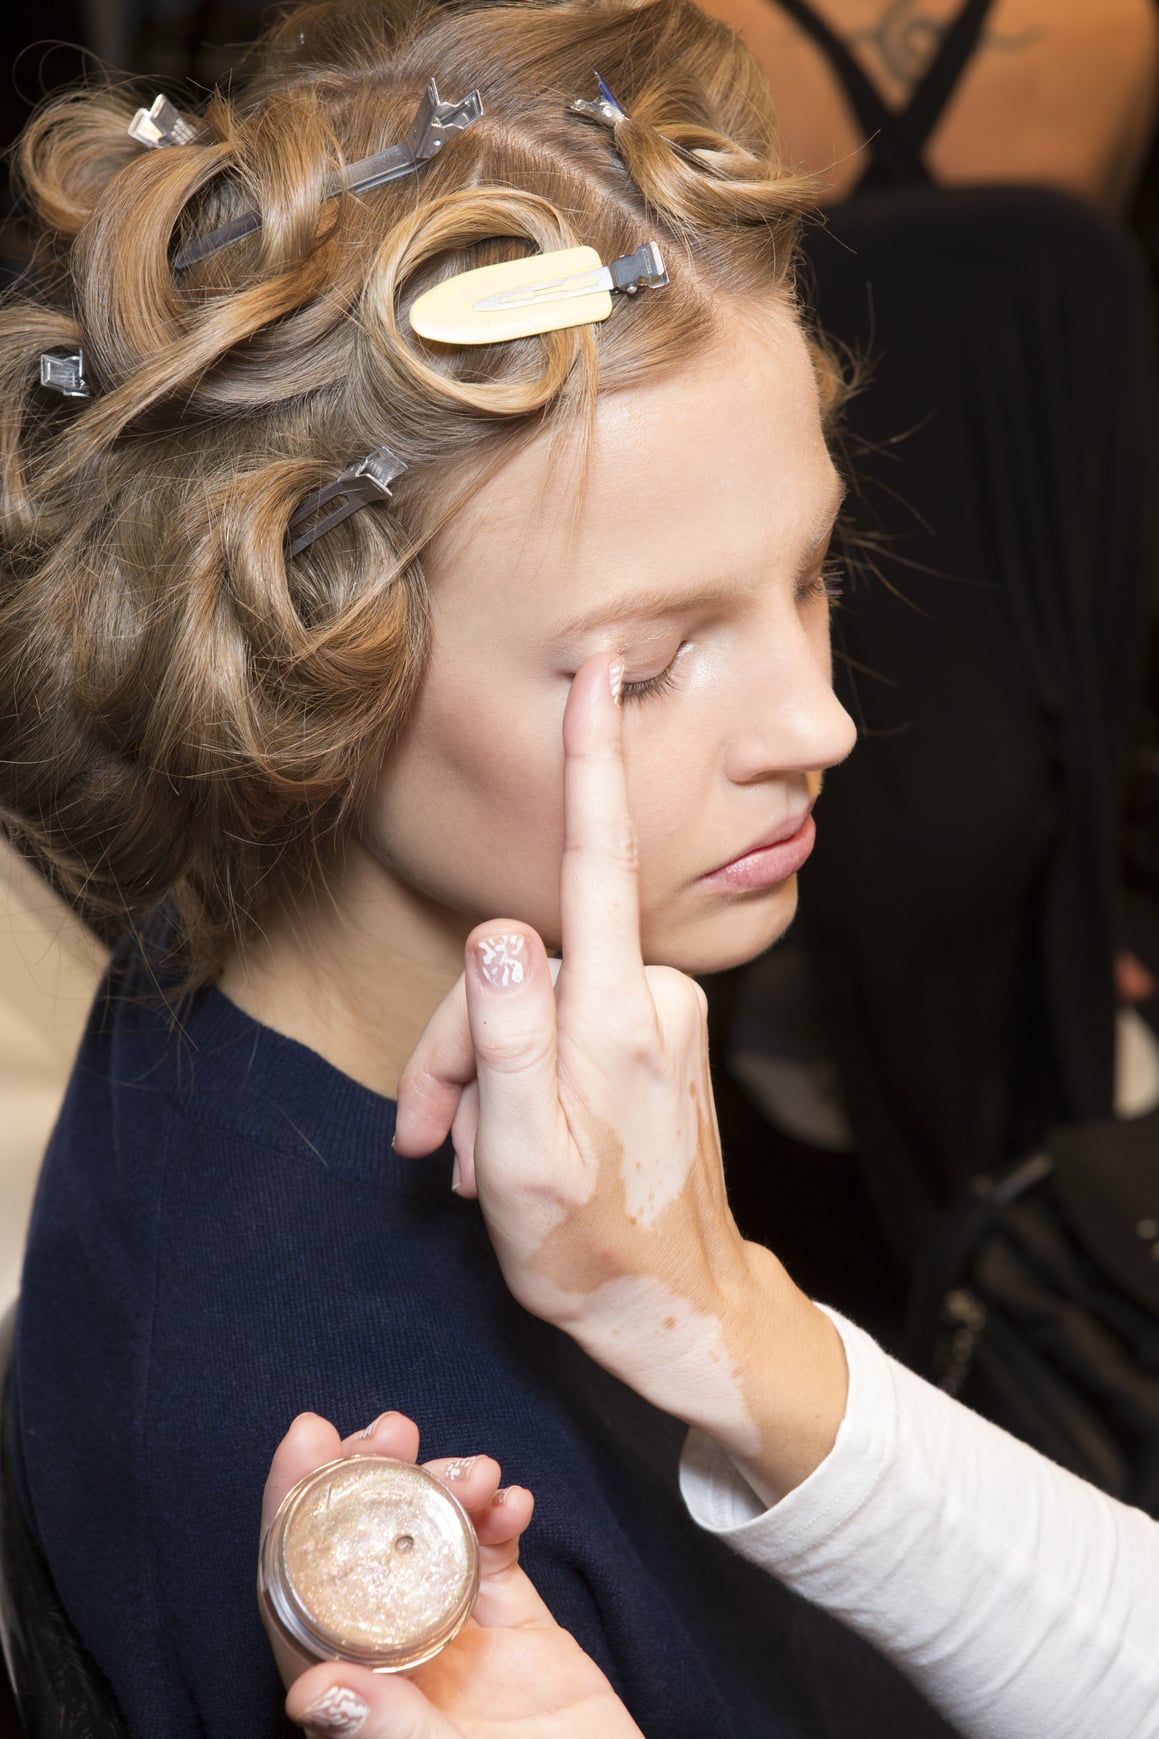
Liquid Eyeshadow
The Ultimate Guide: How to Apply Liquid Eyeshadow
Liquid eyeshadow has gained popularity over recent years as formulas of these products have improved, making them easier for applying and helping in creating well-defined effects. There are ways to apply the same and here are some tips that users will find handy.
Tools and Brushes for Applying Liquid Eyeshadow
There are different products and they usually come with a doe foot applicator. In order to combine different colors as well as ensure that cross-contamination does not occur between different makeups products, it is essential that you keep and maintain makeup tools carefully, such as not using products beyond the expiry date and ensuring proper hygiene.
Use Fingertips
This can be an option if you are okay with a smudged, uneven effect. You could also work with more than one shade with your fingertips and create different effects.


It is best to opt for a flat-tipped brush with a domed edge. It should be firm and flat and without spring so that it can pick up the right quantity of a product and lay down the color in a smooth, precise manner.
One can also opt for fluffy brushes that help soften and diffuse colors. A brush that has medium-sized head and a tapered edge would work well and help to blend out edges.
Liquid Eyeshadow Tips
When you start, ensure that the brush picks up small amount, worth a dab with the doe-foot applicator. You can start by testing it on a metal clean palette. Do not dip or cross-contaminate the brush.
One can then pick up the dab of liquid eyeliner with fingertip, the edge and spread or diffuse it on outer as well as inner corners of eyes. This can be done by brush as well; pull the liquid liner from inner to outer corner.

To do this one can use a flat and synthetic brush. With this one can pay out initial color onto the eyelid’s center. The same can be diffused with a fluffy brush and spread across lid towards outer and inner corners.
:strip_icc():format(jpeg)/kly-media-production/medias/1836306/original/058386000_1516259519-xe.jpg)
Vary Finish as Per Eye Shape
The initial color can be patted out onto the eyelid in different ways. It can be spread out with a synthetic, flat brush that helps diffuse out and spread the color as well as eyeshadow towards outer and inner corners. If eyelids have more creases, there is no need to extend the shade much. One can use a fluffy brush and blend out the colors on the lid.
Work with One Eye at a Time
Since liquid eyeliner are quick-drying formulas, one can ensure to blend out towards the edge and make finishes on one eye before moving to the next. If one wishes to create more intensity it is possible by adding a little more in the middle and then even out.
Use Liquid Eye Shadow to Create Complex Looks
The following tips help create different looks and involve using two or more different shades.
Take small amount, about a dab onto a metal palette using an applicator. Ensure that you do not dip or cross-contamination between different products. Layout dabs of different colors onto a palette surface before you begin.
Applying Different Shades
One can then work up to the lightest shade. Since applying multiple shades with the fingertips might become cumbersome, one can use two or more different brushes to apply. Once application is done, one should use a paper towel and wipe off shades from brushes or fingertips.

When applying shade on creases here are some points to remember:
- Use a brush that is dome-shaped and has tightly packed bristles.
- Lay down color on crease with larger coverage with the brush.
- Use buffing motions to diffuse out the crease colors.
Apply Color to Brow Bone
To do so follow the steps as mentioned below:
- Use a synthetic, fluffy brush.
- Use sweeping and circular motions to diffuse out products.
- Blend below the brow bone and down towards crease area.
The above steps can help create a complete look, with liquid eyeliner and eye shadows that come with an applicator. Ensure that you have the right brushes before you begin.

